First of all, I love photography but I’m not good at editing – like, at all!
I’m working on it and learning a lot. So, that’s why I’m in L O V E with Snapseed.
Snapseed is a photo editing app and a total game changer for a beginner editor, like myself.
Seriously….
It has 29 features that are so easy to use but make you feel like a pro in the making.
I’m going to tell you about my faves in just a sec, but can we talk about the fact that Snapseed has: lens blur, brush, perspective, white balance and HDR scape!
I’m not going to lie, I don’t even know what some of those things are but they sound fancy, right?
Ha.
And, by the way, I fully plan to explore all of the features and give you the full report.
So far, with my limited knowledge, I’ve totally transformed a JPG or raw files, and get it popping on the timeline. Okuuur!
Here are my favorite tools and how I’ve used them:
Selective

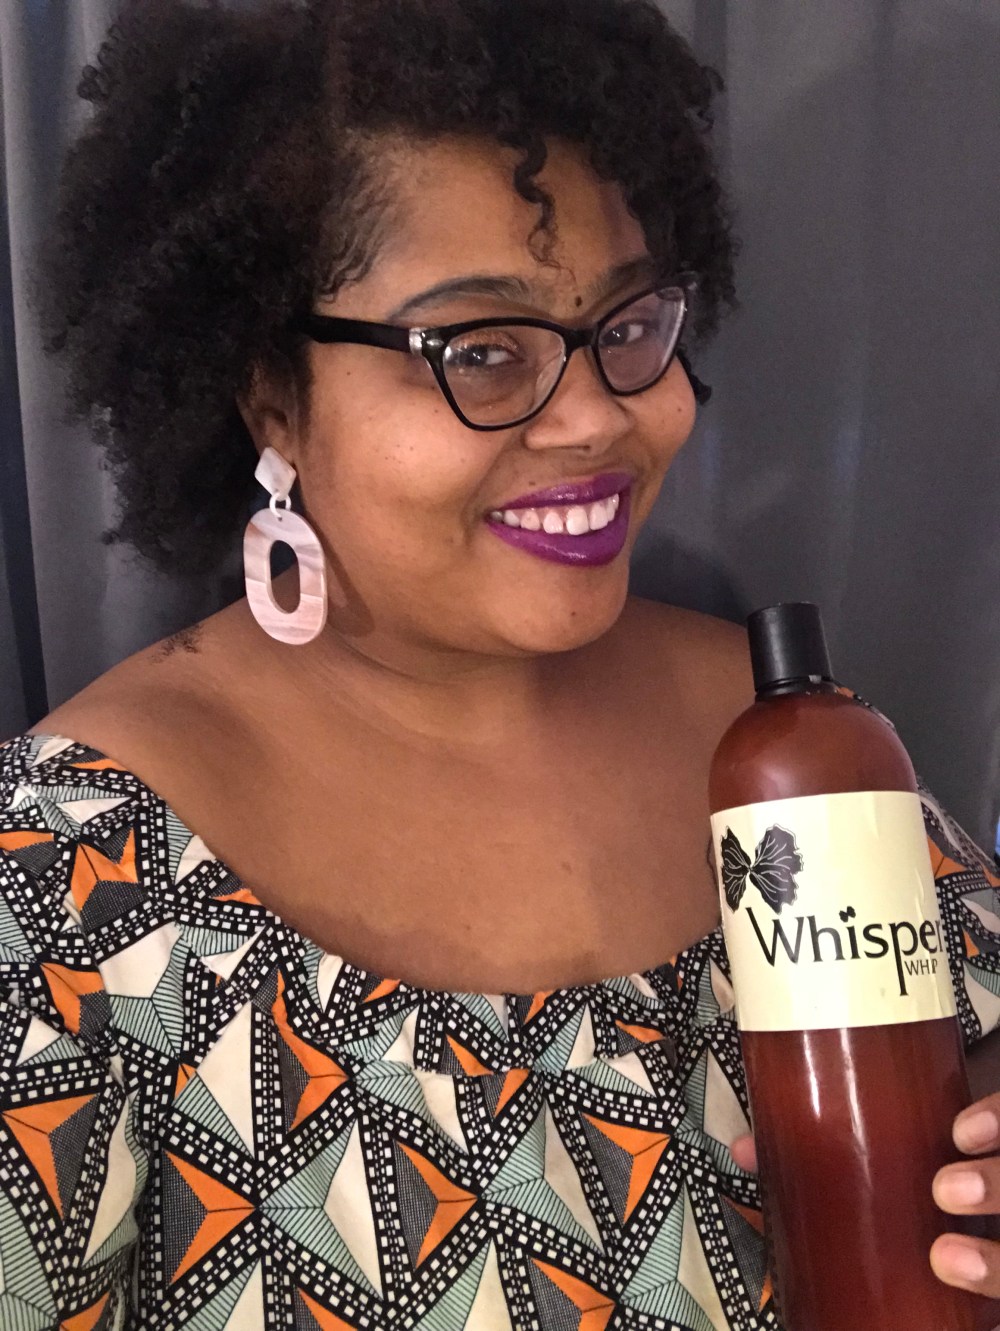

In this picture, I was able to whiten my teeth because they had lipstick on them – oops. To do this, I chose the Selective tool on Brighten. Placing the tool on my teeth I increased the brightness to about 33% – simple!
Other things I also did to this photo are define the texture of my hair and increase the overall brightness and saturation of the picture.
Tune


In this image, I really brought up the saturation to make my makeup colors pop and give my followers those summer vibes. Plus, brightening up pictures a bit makes sure your post doesn’t get lost in the feed or algorithm sauce.
To do this, go to Tune and then select Saturation. Don’t overdo the saturation, though, or the colors will start to “bleed.”

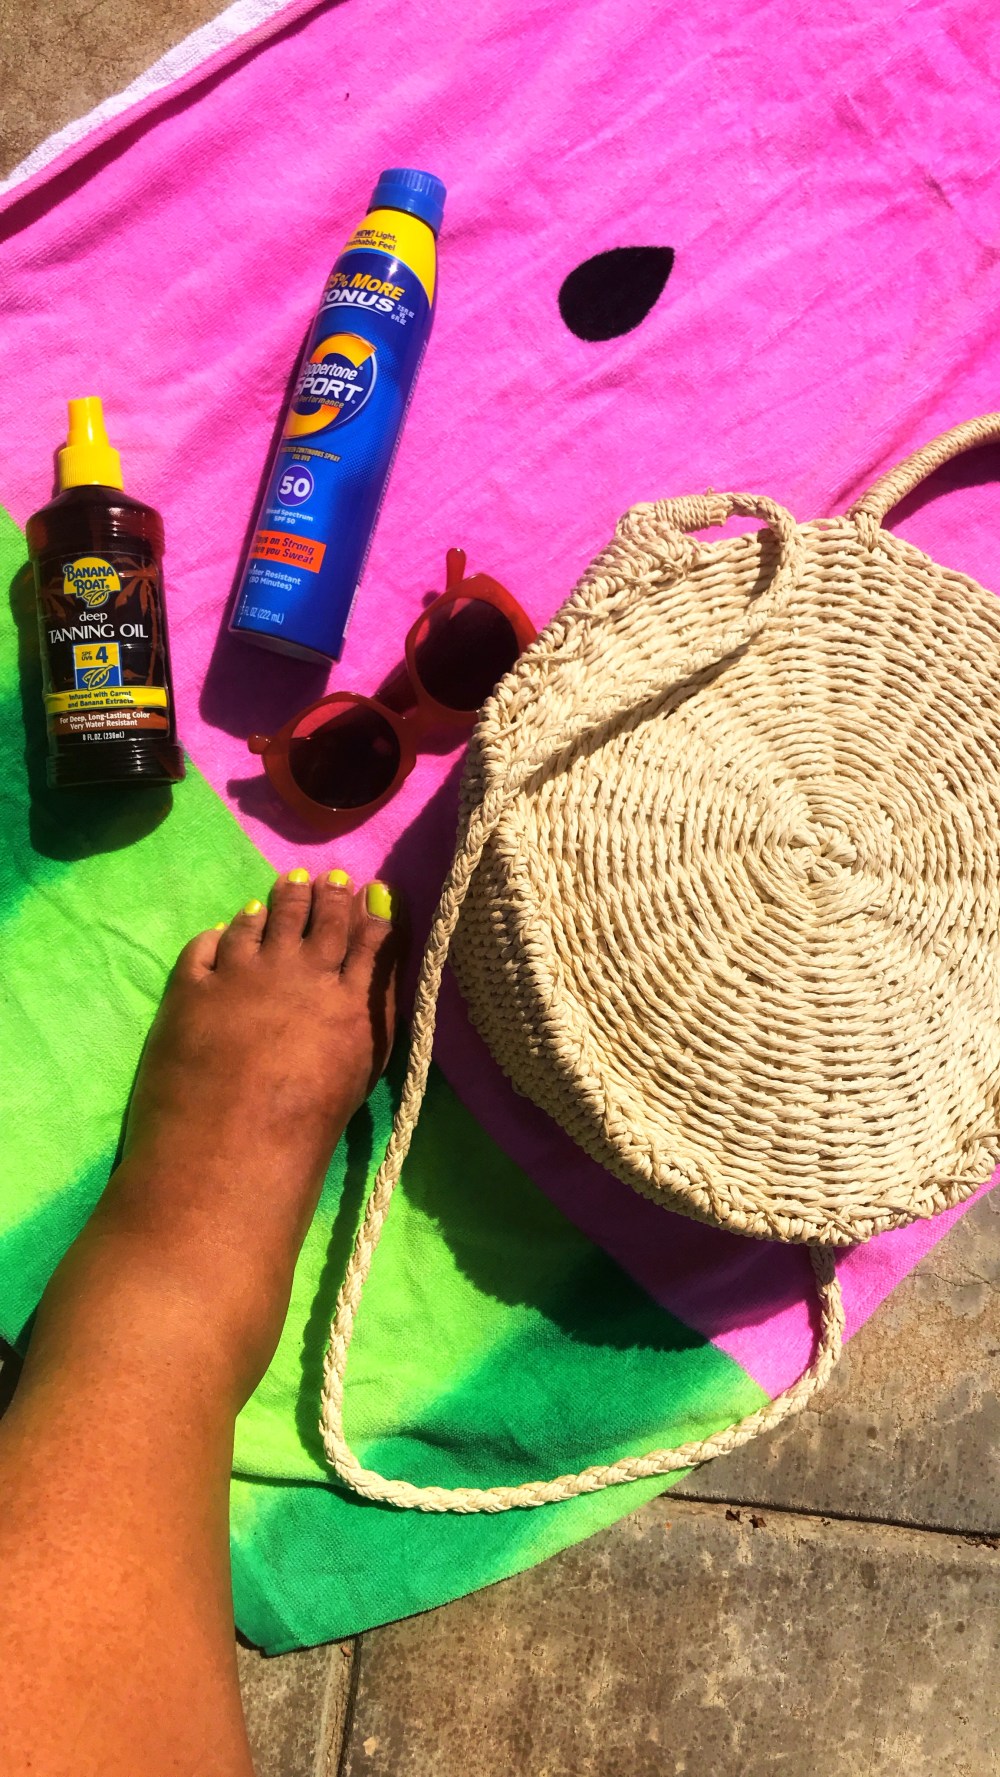
Here’s another example of increased saturation. However, I also used the Healing tool to correct some sun damage on my leg.
Let’s talk more about what the this tool can do.
Healing

The Healing tool is great for hiding blemishes, whether it’s a scar, flyaway hairs, people in the background or chipped paint on your walls.
Be sure to zoom in to get the most precise application of the tool; otherwise, it just looks a mess. This can be difficult at times because Snapseed auto chooses the area from which to select the cover up. If you don’t get it right on first try, then undo it and try different angles and zoom until you get right.

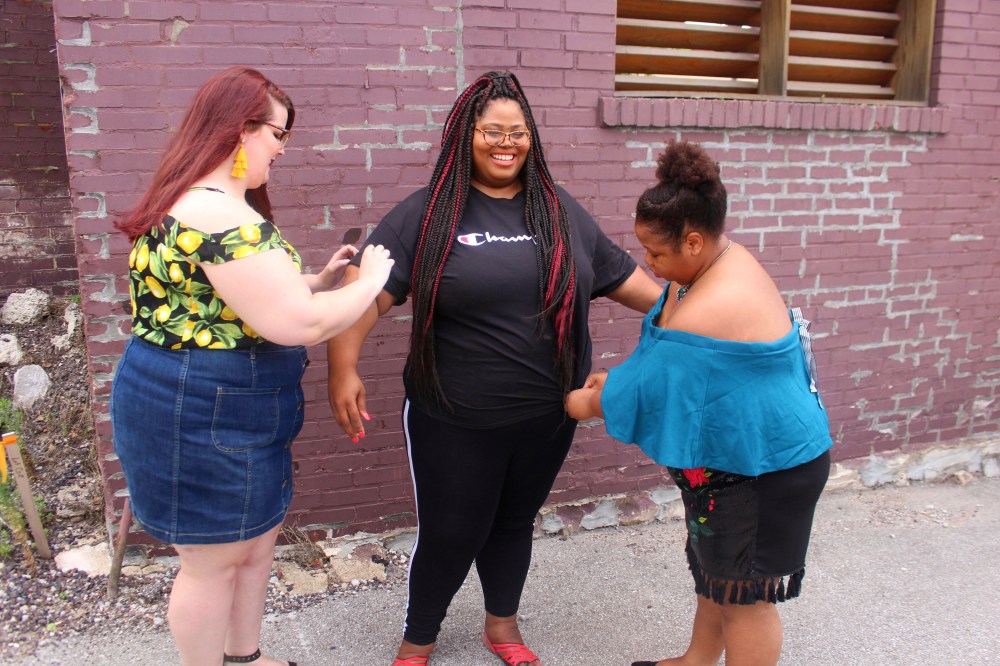
As you can see here, I removed a flyaway and made the image a bit more saturated. I’m quite pleased with how this one turned out!
Here are some other tips to keep in mind while editing:
- Save your favorite looks to use on new photos. Apply the same aesthetic to different photos to curate a featured collection.
- Save changes when editing. When I first started, I would click in and out of tools, making adjustments and not saving the changes using the checkmark in the bottom right corner.
- Don’t overdue it. Editing should enhance the photography, not completely alter it or its subject. Luckily, all tools in Snapseed can be used with precision and control.
I’m still exploring the app and pairing it with other tools to improve my images and develop my editing style. I’ll be following up with a part two to my Snapseed journey.
Again, I’m STILL learning but I would love to hear what apps and editing tricks you enjoy. Please let me know!
Thanks – XO,